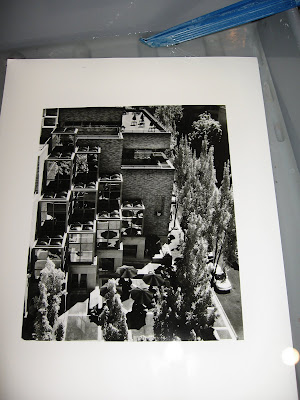
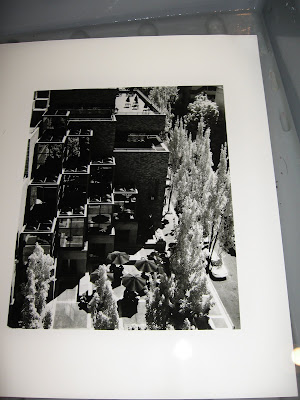
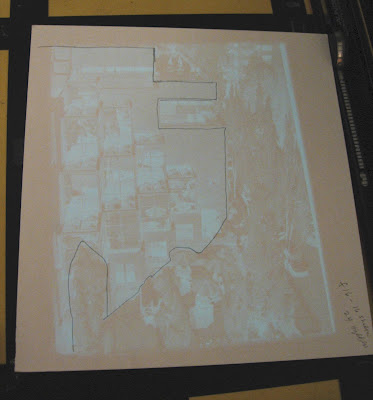
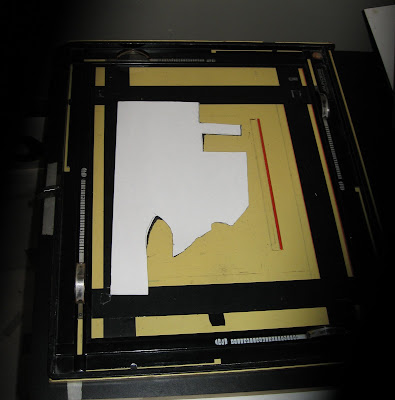
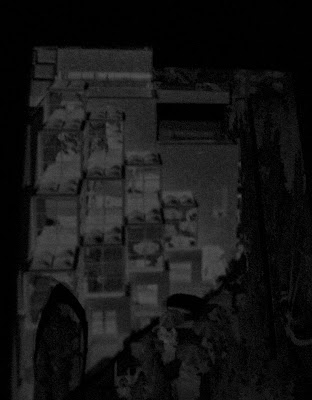
 Today I practiced cutting a mask to dodge a very specific area of a print. In this picture of the Koin Tower taken from a parking lot across the street I have a large vertical area in shadow with the bottom right corner, right side and upper right in bright sunlight. I wanted to see if I could produce a print that would reveal more of the detail of the shaded area using what I learned yesterday in the Master Darkroom Workshop. I used a piece of posterboard white on one side and black on the other as recommended by the instructor. Placing the white side up I traced out inside the line of the shaded area making the mask just slightly smaller then the area to be dodged. I cut this shape out and will hold it over the less dense area of the negative so it will not be overexposed and allow the more dense areas of the negative to get the optimum exposure. I determined by making a test print that the exposure for the denser area of the negative to be 24 seconds at f16 using a number 2 contrast filter. The less dense or shadow area required half of that for the tone I wanted so I dodged it for 12 seconds using the mask. As recommended once I put a piece of photographic paper in the easel I covered the paper with a spare sheet of poster board and did a practice run of the dodging moves before I exposed the paper. The practice helped give me a feel for what I was doing before I risked a sheet of paper. This will be a good technique to take my printing to a higher level. I feel it did what I wanted it to do in the print but I'd hardly call the dodging "seamless" I can see a darker border around the outside of the dodged areas but this is a skill that will take time to develop. Craft takes time.

0 Comments:
Post a Comment
<< Home