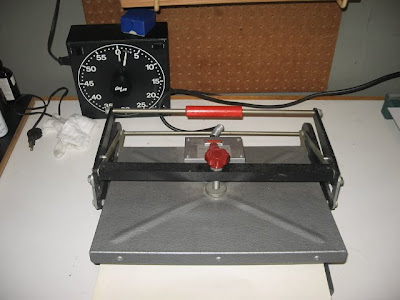


Set the dry mount press at a setting around 170 degrees which is the lowest setting on my press and let it heat up to the proper temperature. Some real nice ones have temperature guages but mine just has a little light like a waffle maker that shuts off when the proper temperature has been reached. You want it just hot enough to soften the mounting tissue, and not too hot that you scorch the SILVER GELATIN print (this is a process for real photographs not ink jet prints I have no idea what happens to them if you apply heat to them). Make sure the platen surface is clean (before you heat it up) and that the pad that the print will rest on is also clean of any debris. I place the print and mount between "release paper" folded in half to cover the whole print and mount front and back. Release paper can be bought through B&H in rolls and will protect the print while it is in the press. When the press is hot enough put the print and mount with the release paper and carefully close the press. You want the press to hold the print firmly against the mount. Set a timer for two minutes and hope for the best. After two minutes check the print to make sure it has adhered completely to the print. If it hasn't try adjusting the temp (up or down) and the time. This was the first time I think it worked perfectly after just two minutes and I had the press at it's lowest possible temperature setting. The print and mount need to be kept flat while the print and mount and bonding tissue cools. I used a clean piece of glass big enough to cover the whole print and let it sit there for a couple of minutes. The bonding of print to mount with the tissue happens during this cooling phase and so you need to make sure the print and mount are flat and pressed evenly together.


0 Comments:
Post a Comment
<< Home